Event Management -> Documents
Step 1
> Click on 'Event management'
> Then 'Documents'
Step 2
> Click on 'Assigned to' field for the documents you want assigning and a drop down will appear
Step 3
> Type the Guest that you wish to assign the document to.
You have successfully assigned a document to a guest!
How to Assign Documents to a Guest
Via Event management > Documents, you will see all added Documents.
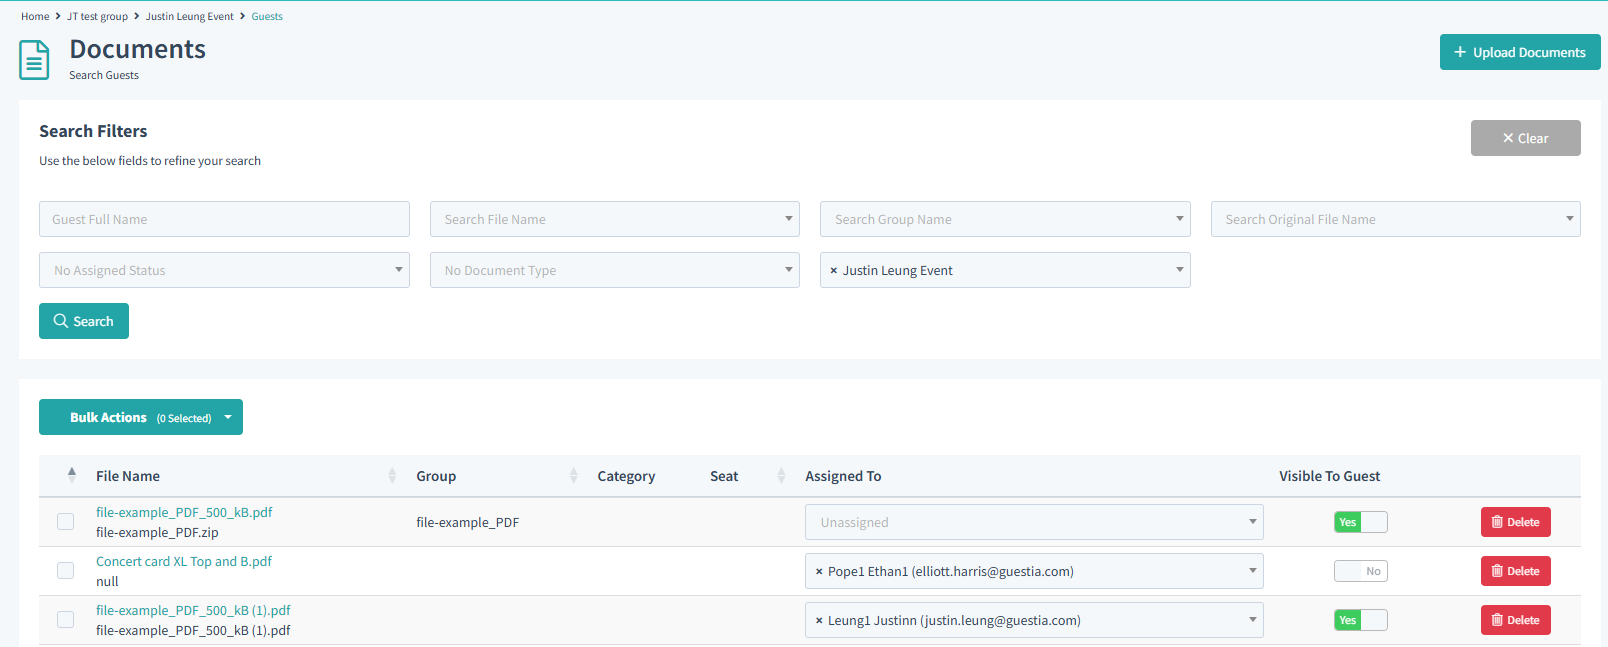
On the document you wish to assign, you will see a field under 'Assigned To' where you can choose which guest is allocated to the document. Type the guest name to assign them to the document.
Making Documents Visible to Guests via the Mobile App
There are two things that needs to be configured to allow Guests to view the documents assigned to them on the Mobile App.
1. Documents need the option enabled 'Visible To Guests'. This is either done during Document creation or after creation.
2. The Mobile App must be configured to have the Documents menu option enabled Via -
Event configuration > Event Brands > choose the event brand that guests will be on and then select -
Actions > Change theme > App builder > Menu tab > Add Feature >Select Upload Documents > select Save and continue to implement this menu option on the App for all guests on that event brand
Was this article helpful?
That’s Great!
Thank you for your feedback
Sorry! We couldn't be helpful
Thank you for your feedback
Feedback sent
We appreciate your effort and will try to fix the article